Python词云包wordcloud入门
构建词云的方法很多, 但是个人觉得python的wordcloud包功能最为强大,可以自定义颜色以及图片。下面简单介绍下wordcloud包用法。
下载链接
官网: https://amueller.github.io/word_cloud/
github: https://github.com/amueller/word_cloud
安装简介
方法1:pip安装
对于python2
pip install wordcloud
对于python3
pip3 install wordcloud
方法2:GitHub源码安装
- 下载并解压
wget https://github.com/amueller/word_cloud/archive/master.zipunzip master.ziprm master.zipcd word_cloud-master
- 安装依赖包
sudo pip install -r requirements.txt
- 安装wordcloud
python setup.py install
代码实例
from os import path
from scipy.misc import imread
import matplotlib.pyplot as plt

from wordcloud import WordCloud, STOPWORDS, ImageColorGenerator

# 获取当前文件路径
# __file__ 为当前文件, 在ide中运行此行会报错,可改为
# d = path.dirname('.')
d = path.dirname(__file__)

# 读取文本 alice.txt 在包文件的example目录下
#内容为
"""
Project Gutenberg's Alice's Adventures in Wonderland, by Lewis Carroll

This eBook is for the use of anyone anywhere at no cost and with
almost no restrictions whatsoever.  You may copy it, give it away or
re-use it under the terms of the Project Gutenberg License included
with this eBook or online at www.gutenberg.org
"""
text = open(path.join(d, 'alice.txt')).read()

# read the mask / color image
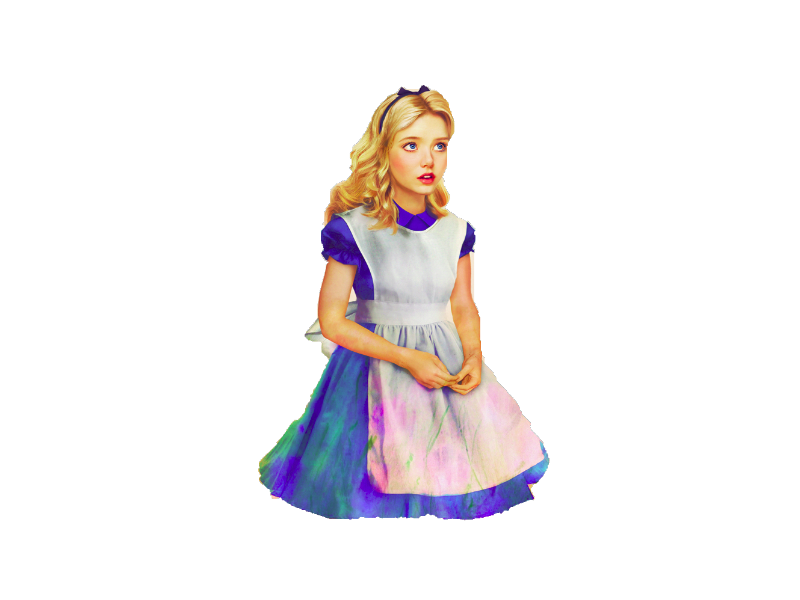
# taken from https://jirkavinse.deviantart.com/art/quot-Real-Life-quot-Alice-282261010
# 设置背景图片
alice_coloring = imread(path.join(d, "alice_color.png"))

wc = WordCloud(background_color="white",  # 背景颜色max_words=2000,# 词云显示的最大词数
               mask= alice_coloring,  # 设置背景图片
               stopwords=STOPWORDS.add("said"),
               max_words=1000,
               max_font_size=100,  # 字体最大值
               min_font_size=10,
               font_path='/Library/Fonts/Songti.ttc', # 设置字体路径,如不设置中文会出现乱码
               random_state=42)
# 生成词云, 可以用generate输入全部文本(中文不好分词),也可以我们计算好词频后使用generate_from_frequencies函数
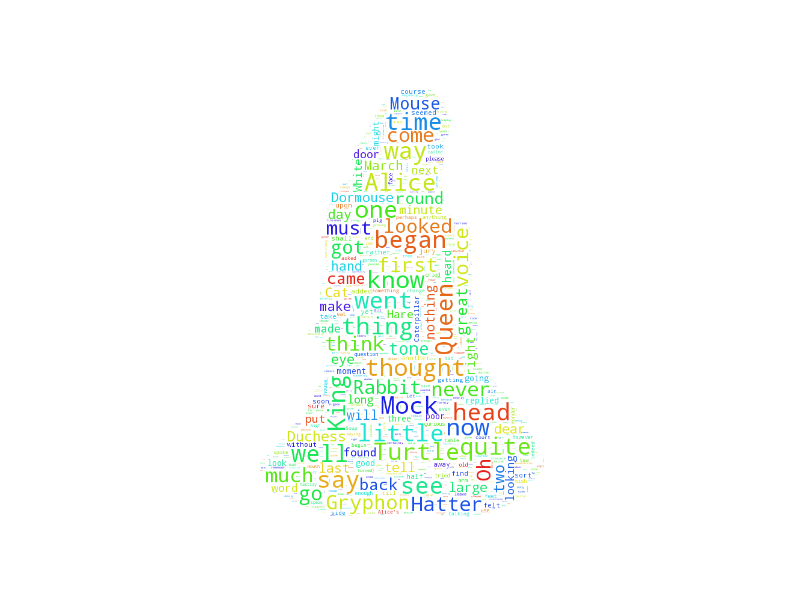
wc.generate(text)
# wc.generate_from_frequencies(txt_freq)
# txt_freq例子为[('词a', 100),('词b', 90),('词c', 80)]
# 从背景图片生成颜色值
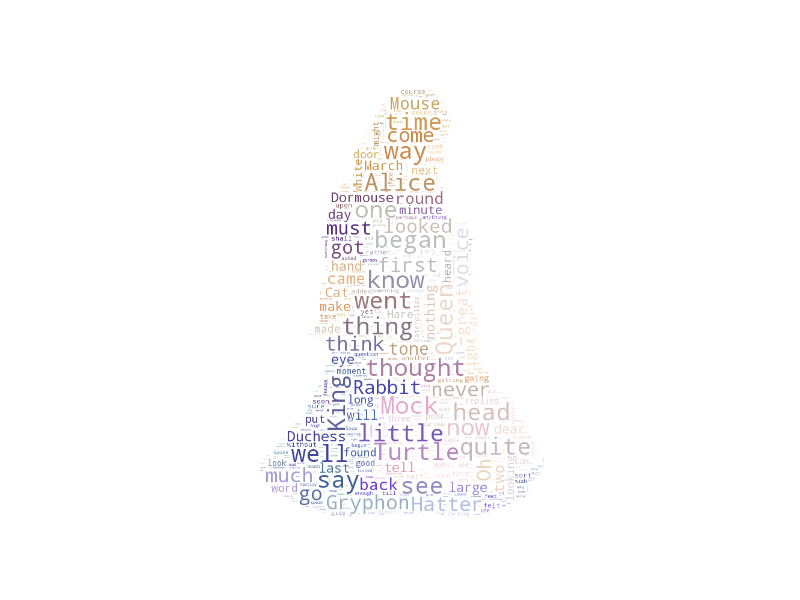
image_colors = ImageColorGenerator(alice_coloring)

# 以下代码显示图片
plt.imshow(wc)
plt.axis("off")
# 绘制词云
plt.figure()
# recolor wordcloud and show
# we could also give color_func=image_colors directly in the constructor
plt.imshow(wc.recolor(color_func=image_colors))
plt.axis("off")
# 绘制背景图片为颜色的图片
plt.figure()
plt.imshow(alice_coloring, cmap=plt.cm.gray)
plt.axis("off")
plt.show()
# 保存图片
wc.to_file(path.join(d, "名称.png"))
代码效果
词云模版原图

词云效果图(1)

词云效果图(2)


